Goal:
the goal here is to connect a local network with an Azure virtual network. Fortunately, you will not need to lay a submarine cable to achieve this, someone else already did that.
Just create a Site to Site Link between an Azure Virtual Network and an on-prem Machine.
Topology:
- at minimum, you will need one of each of the following resource to complete this lab:
Azure required components:
- Virtual Network
- Subnet
- Gateway Subnet
- VPN Gateway
- local Gateway
- VPN Connection
- Virtual Machine
- Storage Account
On-prem required components:
- Windows Server configured as RRAS ( the easiest setup for a home lab scenario)
- Internet Router Configuration : Port Forwarding
- static routes towards the Azure Vnet IP Address Space
Chapter 1. Configure the required Azure Components
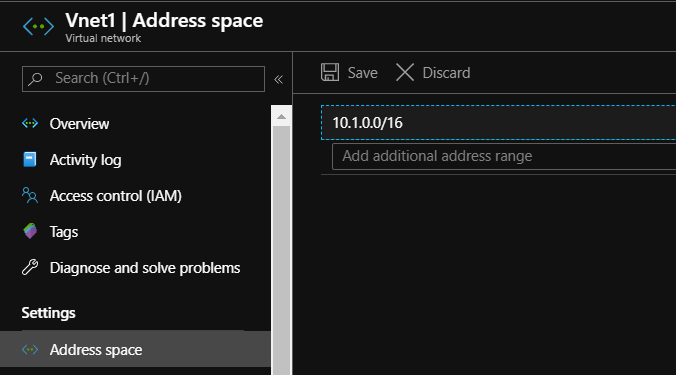
- create a Virtual Network and configure the desired VNET IP Address Range as well as the necessary subnets
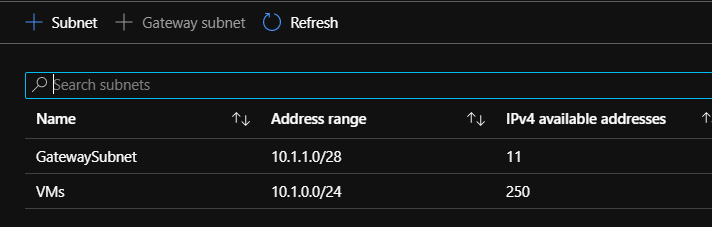
- The subnet ( here named “VMs”) can be used later to hold Azure Virtual Machines or other resources.
- A Gateway Subnet is also required for the Azure VPN Gateway , more on this later in the LAB.
- The address ranges used by each subnet of course need to be part of the main Vnet adress space. An important consideration here, is also to plan ahead and make sure you do not have ranges overlapping with the ones used on the on-prem site.
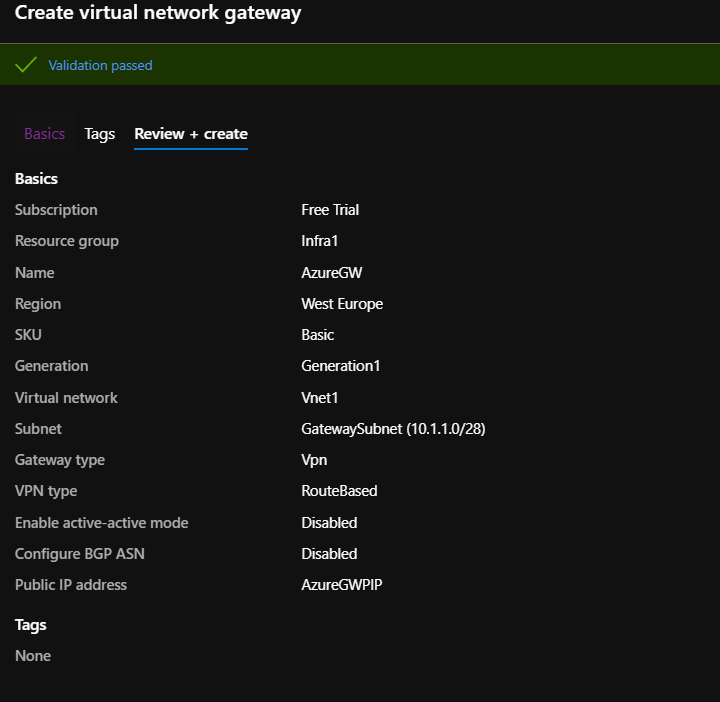
- create a virtual network gateway, having the type “Route-Based” and place it inside the dedicated Gateway Subnet of the Vnet created earlier.
- creation process takes around 30 minutes, so grab a coffee,tea or just check out the weather outside.
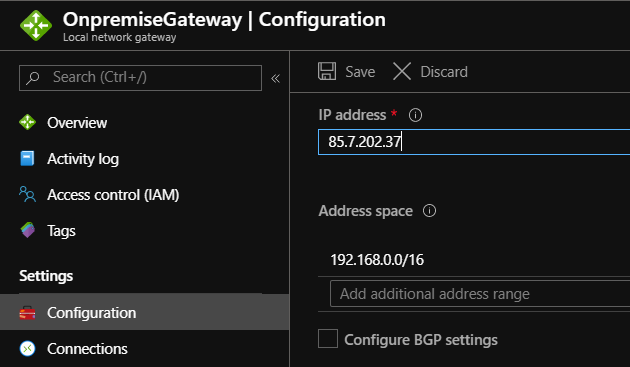
- better yet, use the time to create a Local Gateway . This is an Azure Resource necessary to represent the Onpremise VPN Gateway.
- For the creation of this resource, you need the Public IP of the onpremise Gateway and the IP Address Range of the on-prem network. In my case,this being just a lab environment, I reffer to the Public IP of the internet router and the local private adress range used by my local machines.
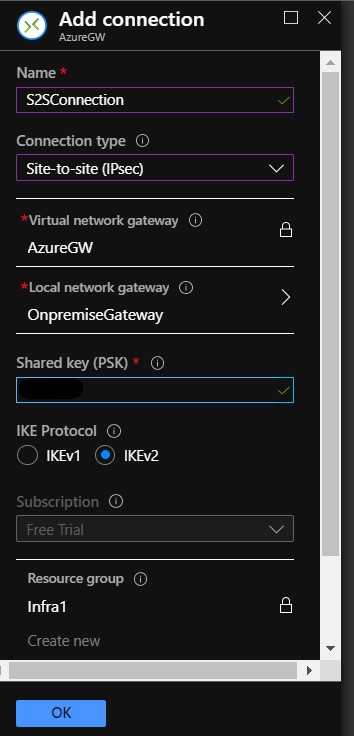
- create a connection under the Virtual Network Gateway Menu, type Site-to-Site and enter some text or numbers as the pre-shared Key which will be used later by the two gateway endpoints to secure the connection.
Chapter 2. Configure the required Onpremise components
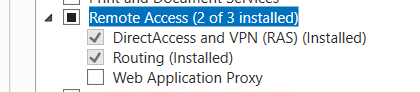
- Now it is time to switch to the local side. Here you need to install a Windows Server 2016 or Windows Server 2012 R2 and add the “Routing and Remote Access” Role to it.
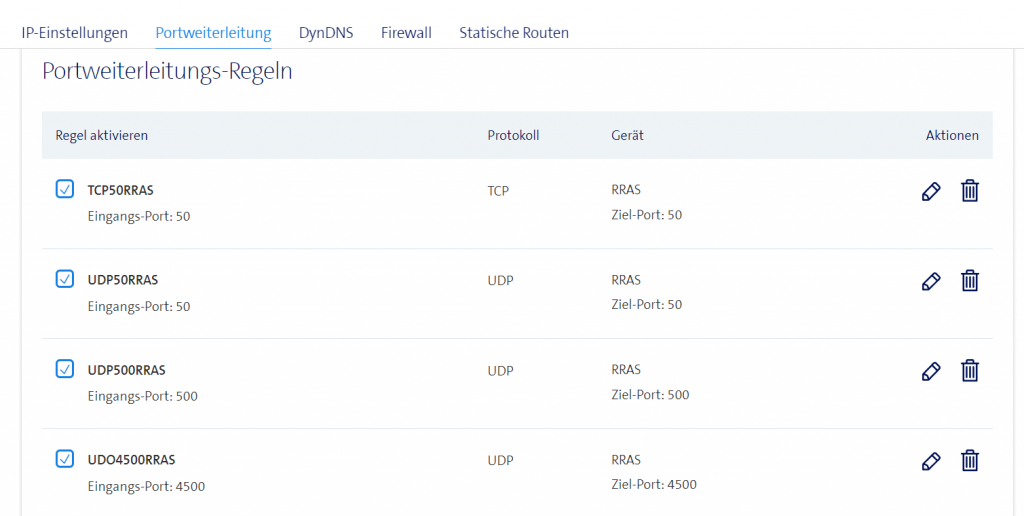
- Setup your Internet Router to allow Port forwarding for Ports TCP/UDP 50, UDP 500 and UDP 4500 towards the Server used as RRAS. This will differ based on your ISP provider, but you should find options similar to these:
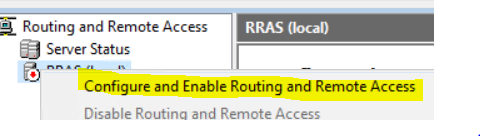
- next open “Routing and Remote Access” on the onpremise RRAS machine
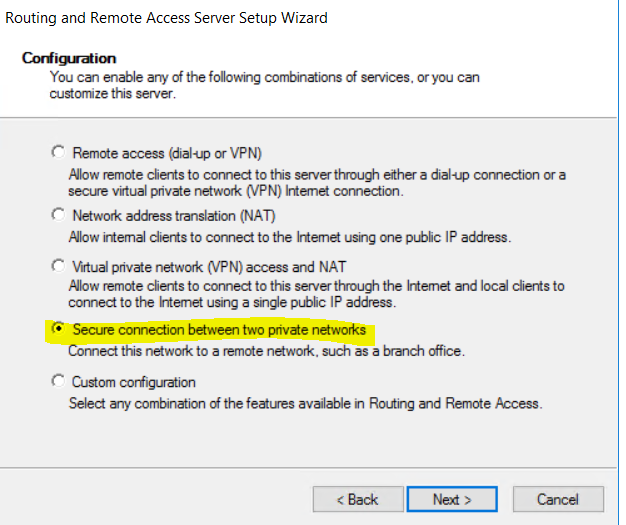
- confirm with next and select “secure connection between two private networks”
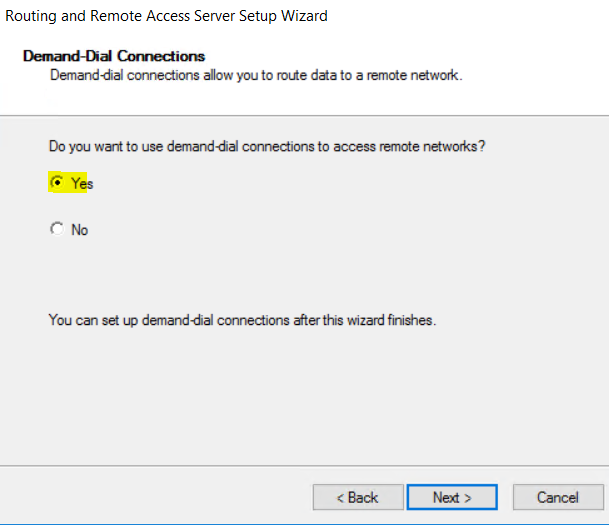
- select “yes”
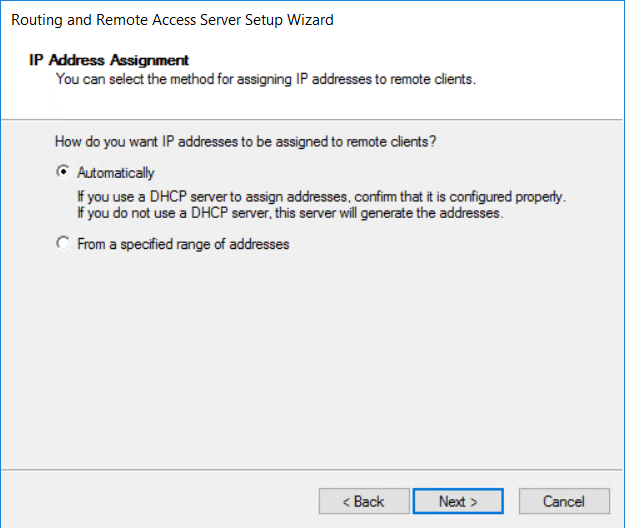
- select “automatic” and “finish”
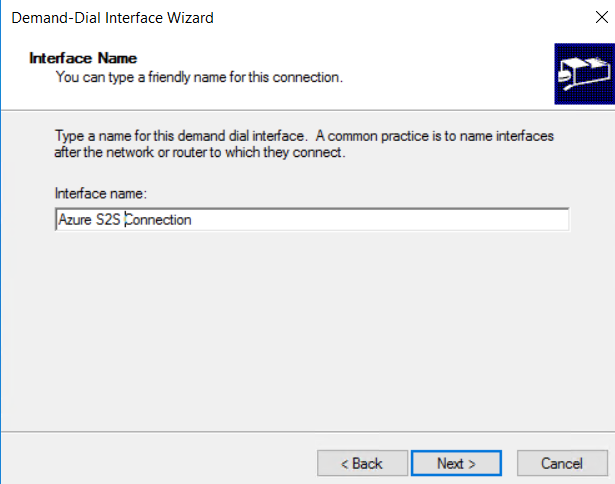
- in the new demand dialin interface wizzard click next, and configure the name of the interface
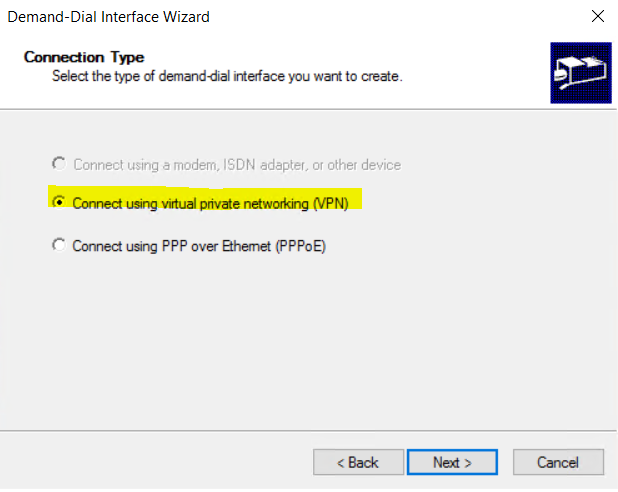
- select “connect using VPN”
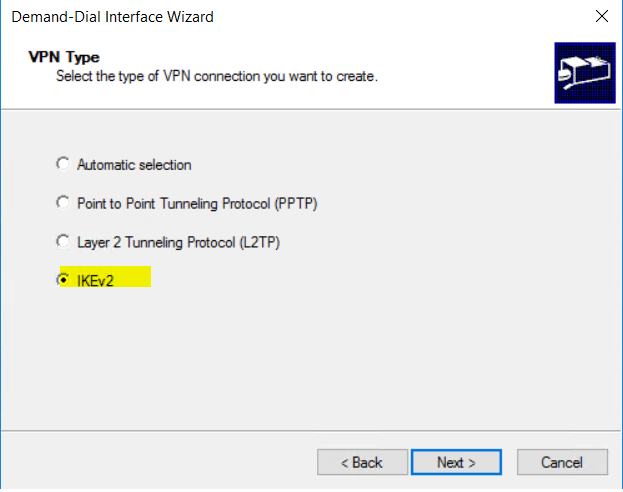
- select IKEv2
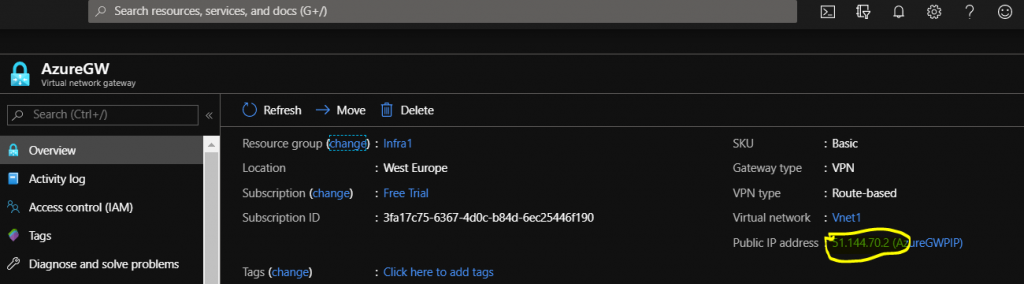
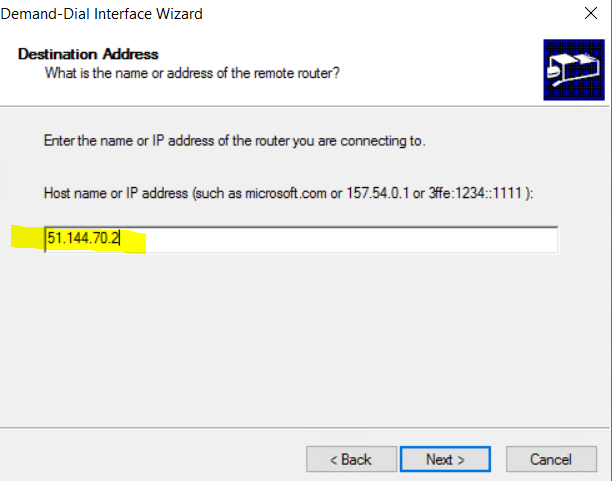
next enter the Public IP of the Azure Virtual Network Gateway created under Chapter 1
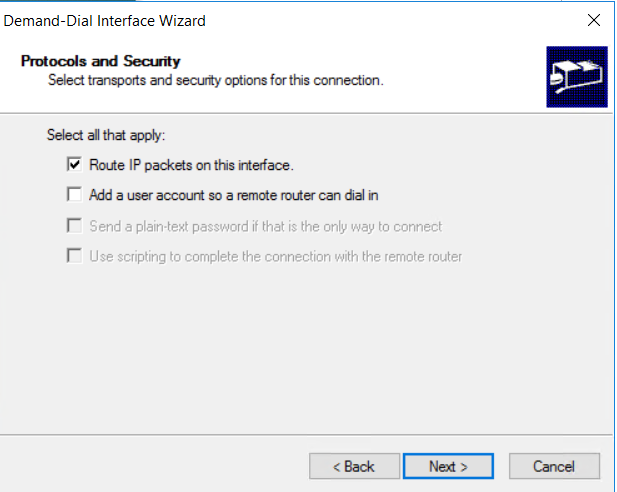
- select “route IP Packets on this interface”
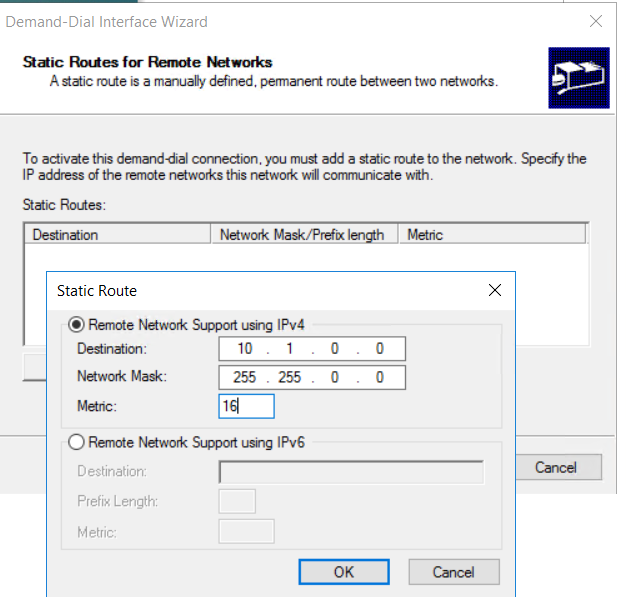
- configure route towards the IP Adress Range of the Azure Virtual Network
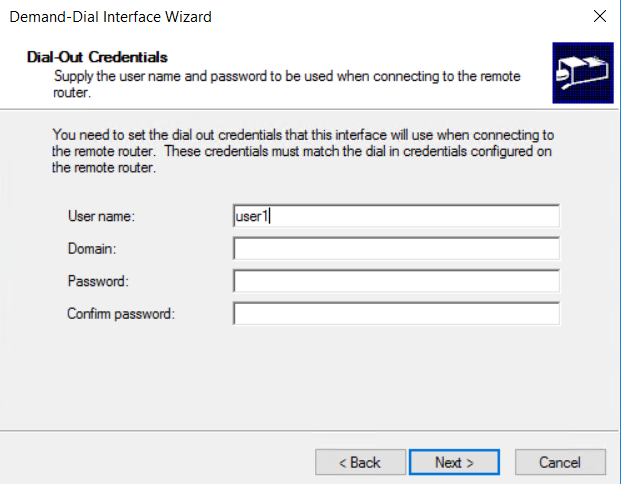
- next enter something in the User field, credentials are not necessary as the link will be authenticated via PSK
- the interface will appear under Network Interfaces
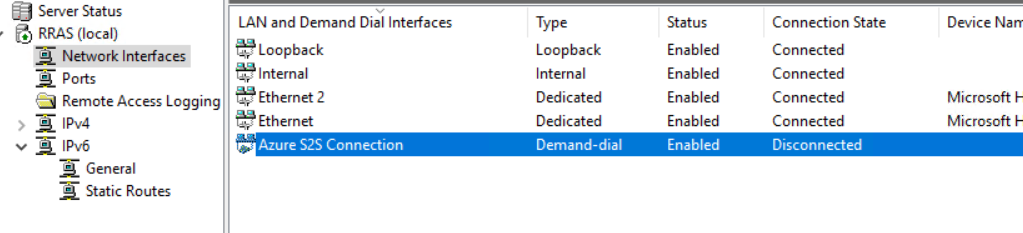
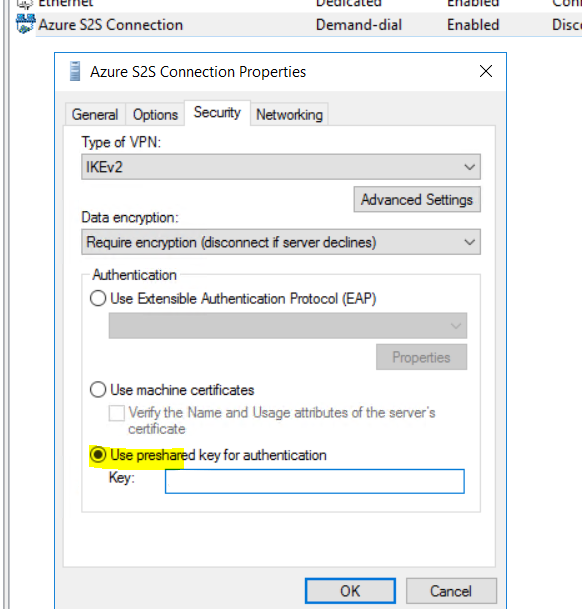
- right click on the new interface and select Security, and enter the PSK configured earlier
- connect the interface

Chapter 3. Verify connection
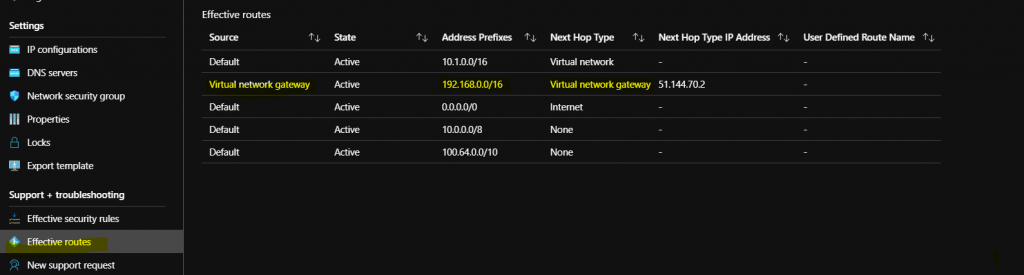
- on Network Card of the Azure VM under Effective routes, the static route towards the onprem range can be found, this was added automatically
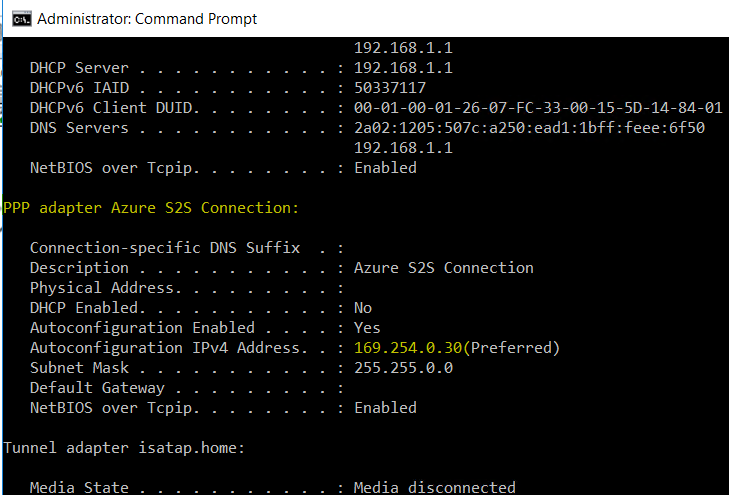
- on the Onpremise RRAS , the interface properties can be found
- however a static route towards the Azure Vnet Address Range is needed

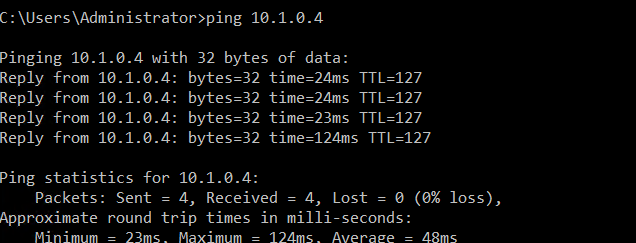
- at this moment, you can ping the Azure VM from the Onpremise machine
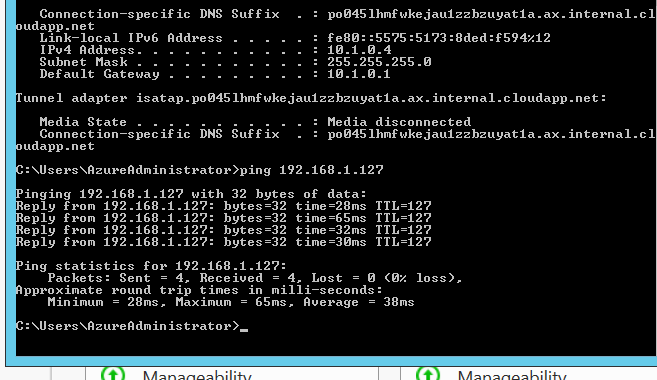
- and the other around, from Azure to Onprem
Mission Completed 🙂